Getting Started
Set up your student account, join your first course, and find the pages you will use every day.
Who this is for
Students who are new to Speakly.PRO.
What this page answers
- How do I finish account setup?
- How do I join my first course?
- Where do I find lessons, homework, and live sessions?
Prerequisites
- a student account
- either an invite code or a teacher who accepts join requests
1. Complete your account setup
Start by finishing your basic profile:
- set your timezone
- choose your native language
- upload a profile photo
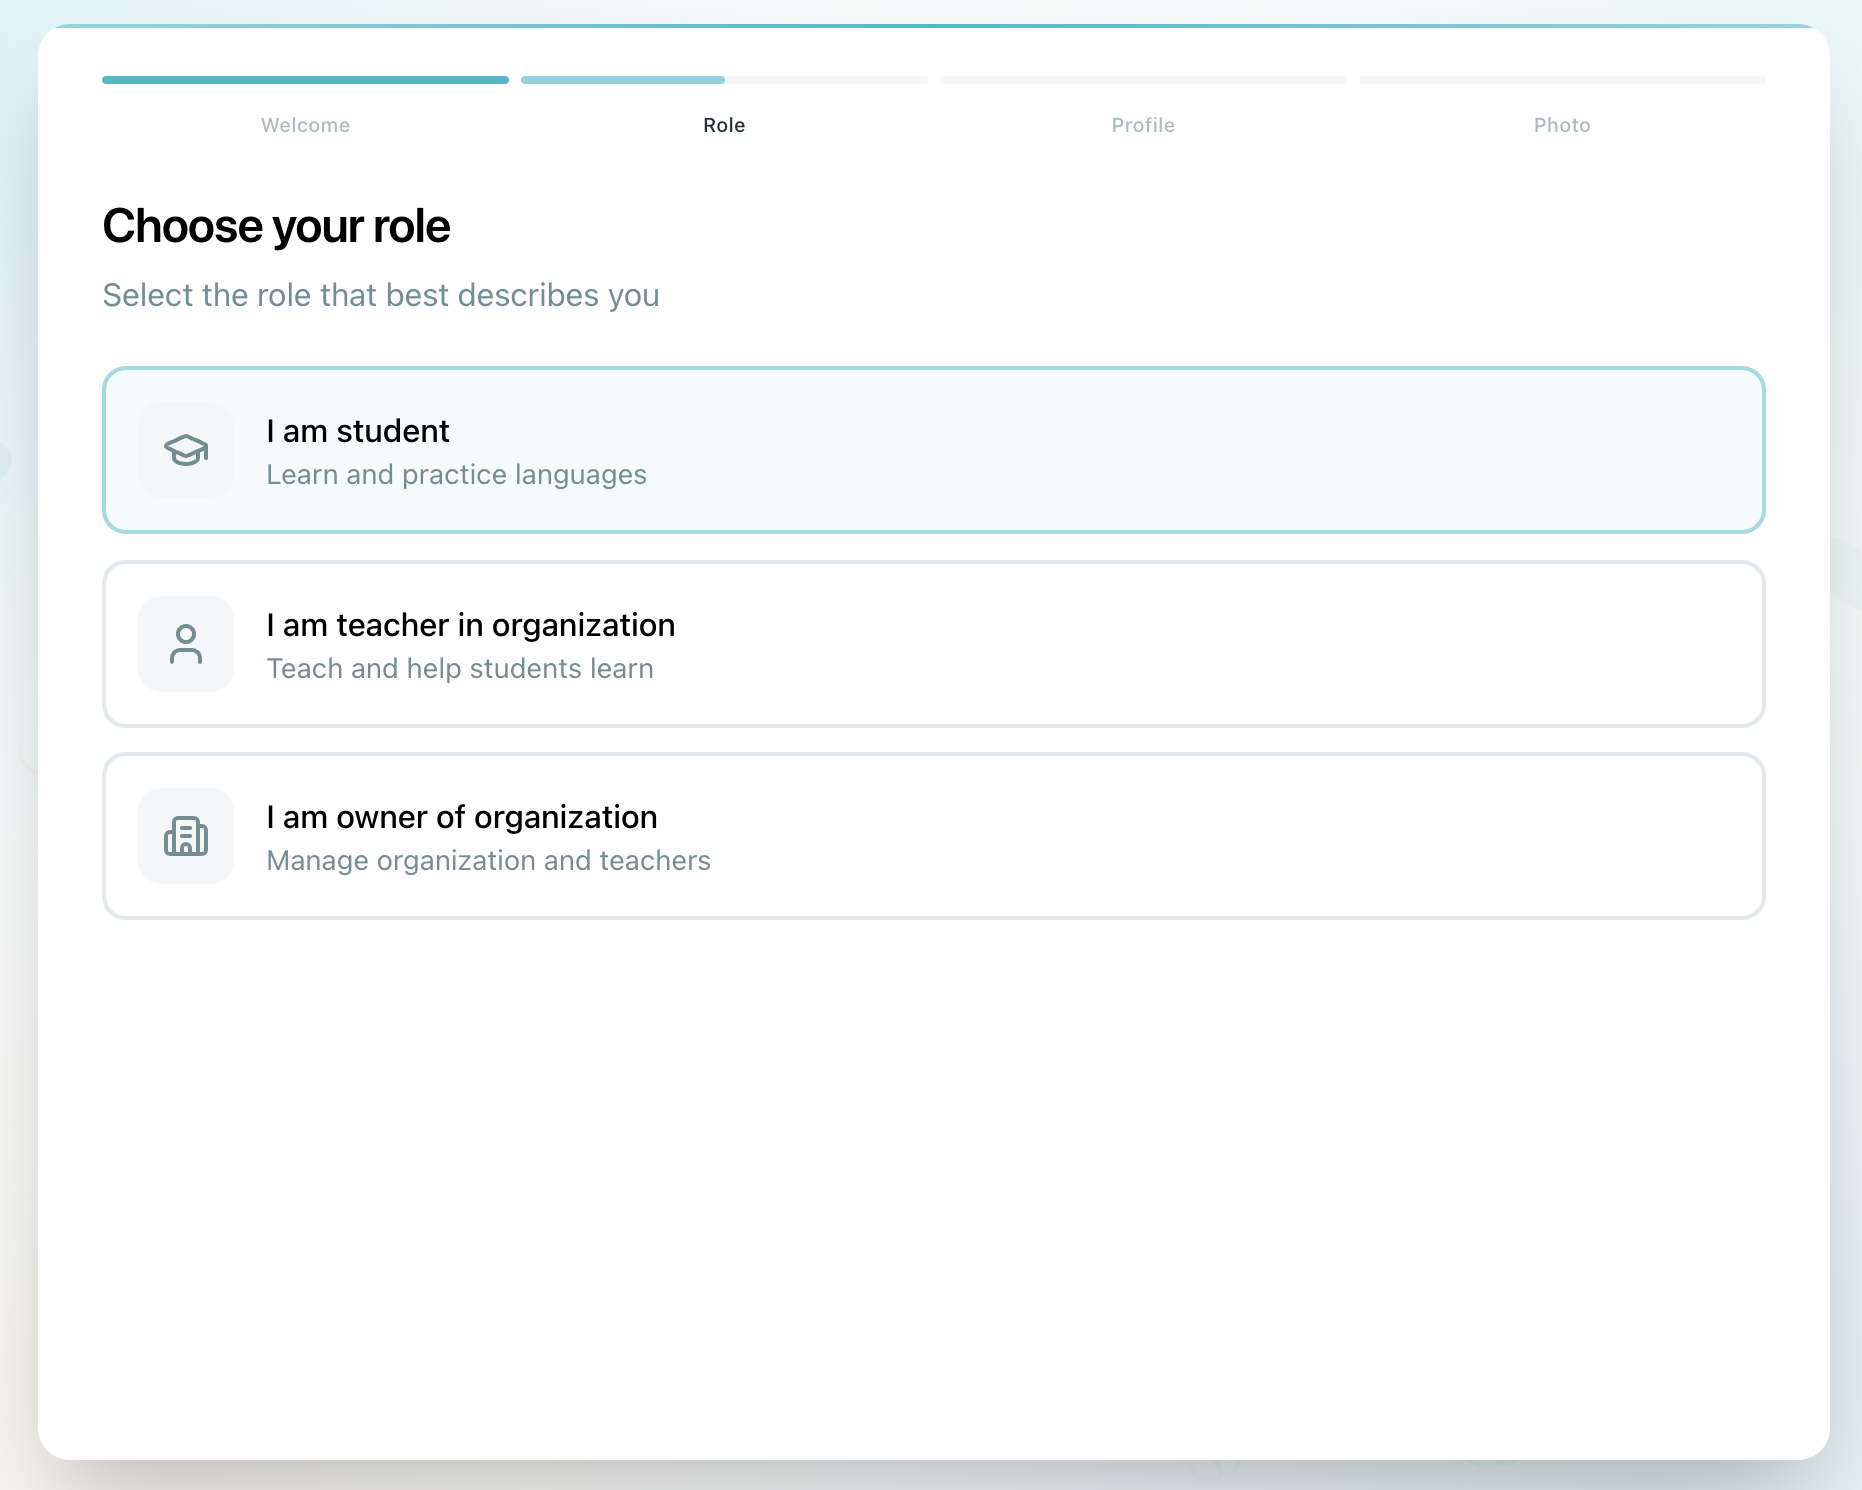
The timezone matters immediately because lesson times and reminders use it across the platform.
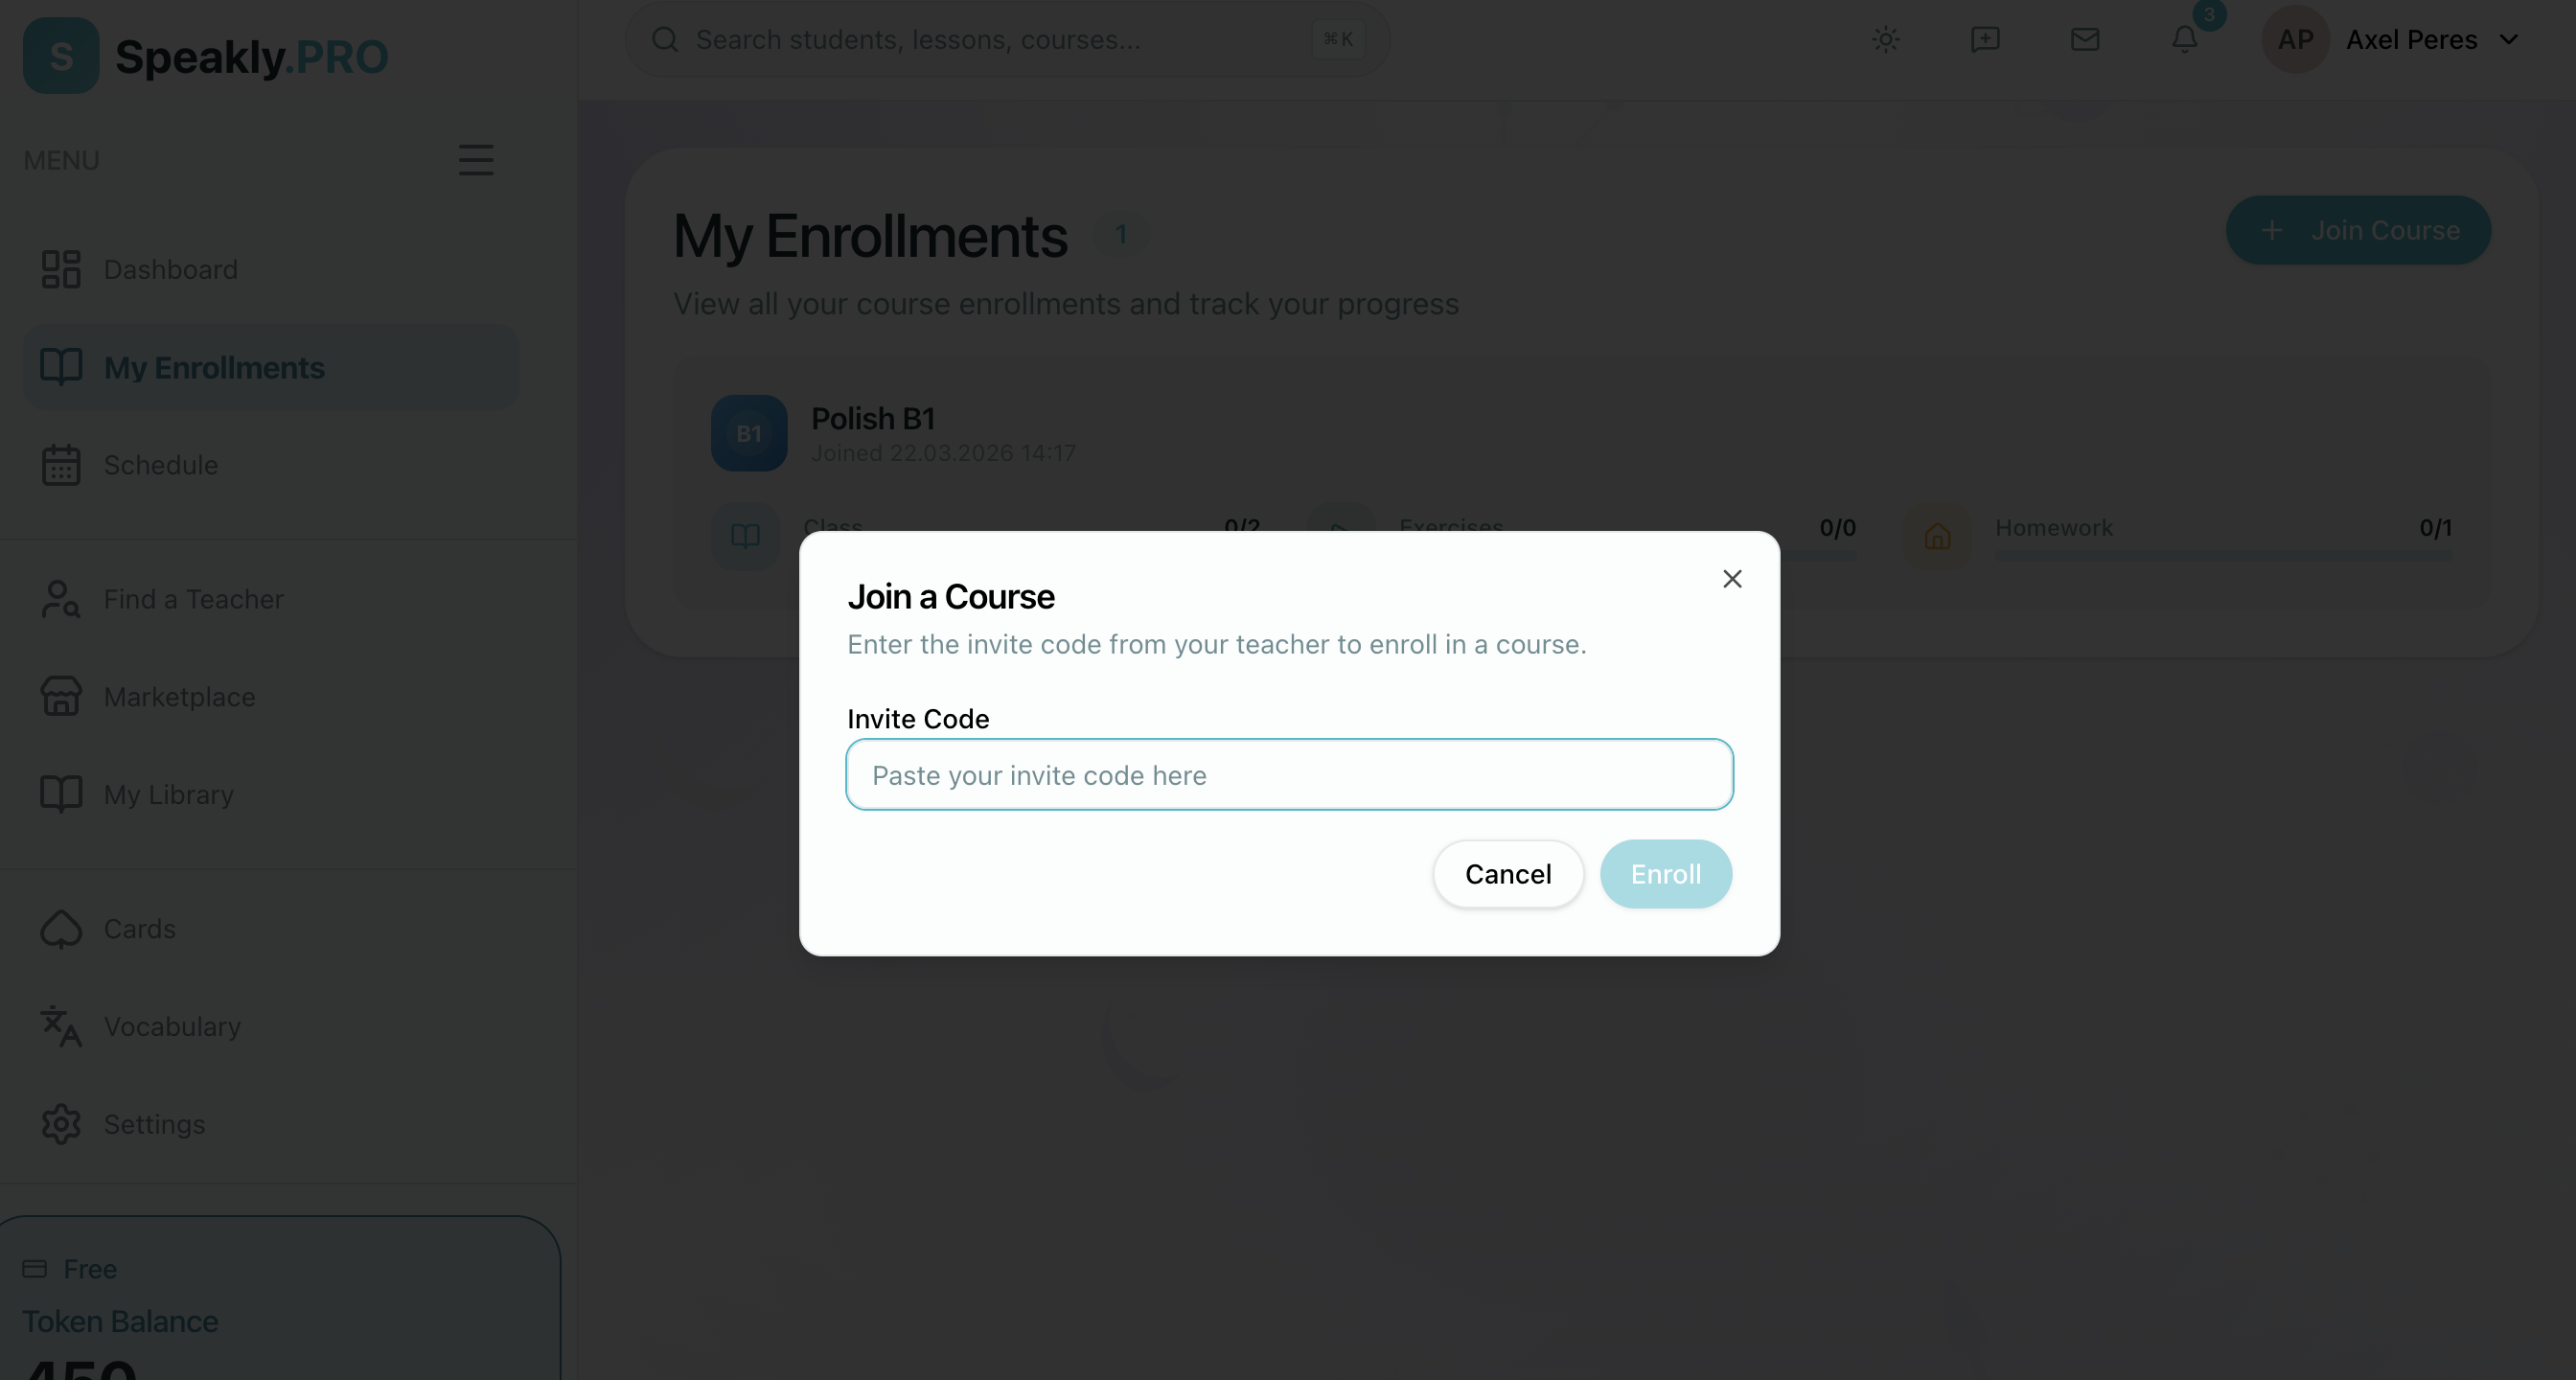
2. Join your first course
If you have an invite code
- Open My Enrollments
- Click Join Course
- Enter the code from your teacher
- Confirm the enrollment
If you do not have a code
Request access to a teacher or course that accepts join requests, then wait for approval. Once accepted, the course appears in My Enrollments automatically.
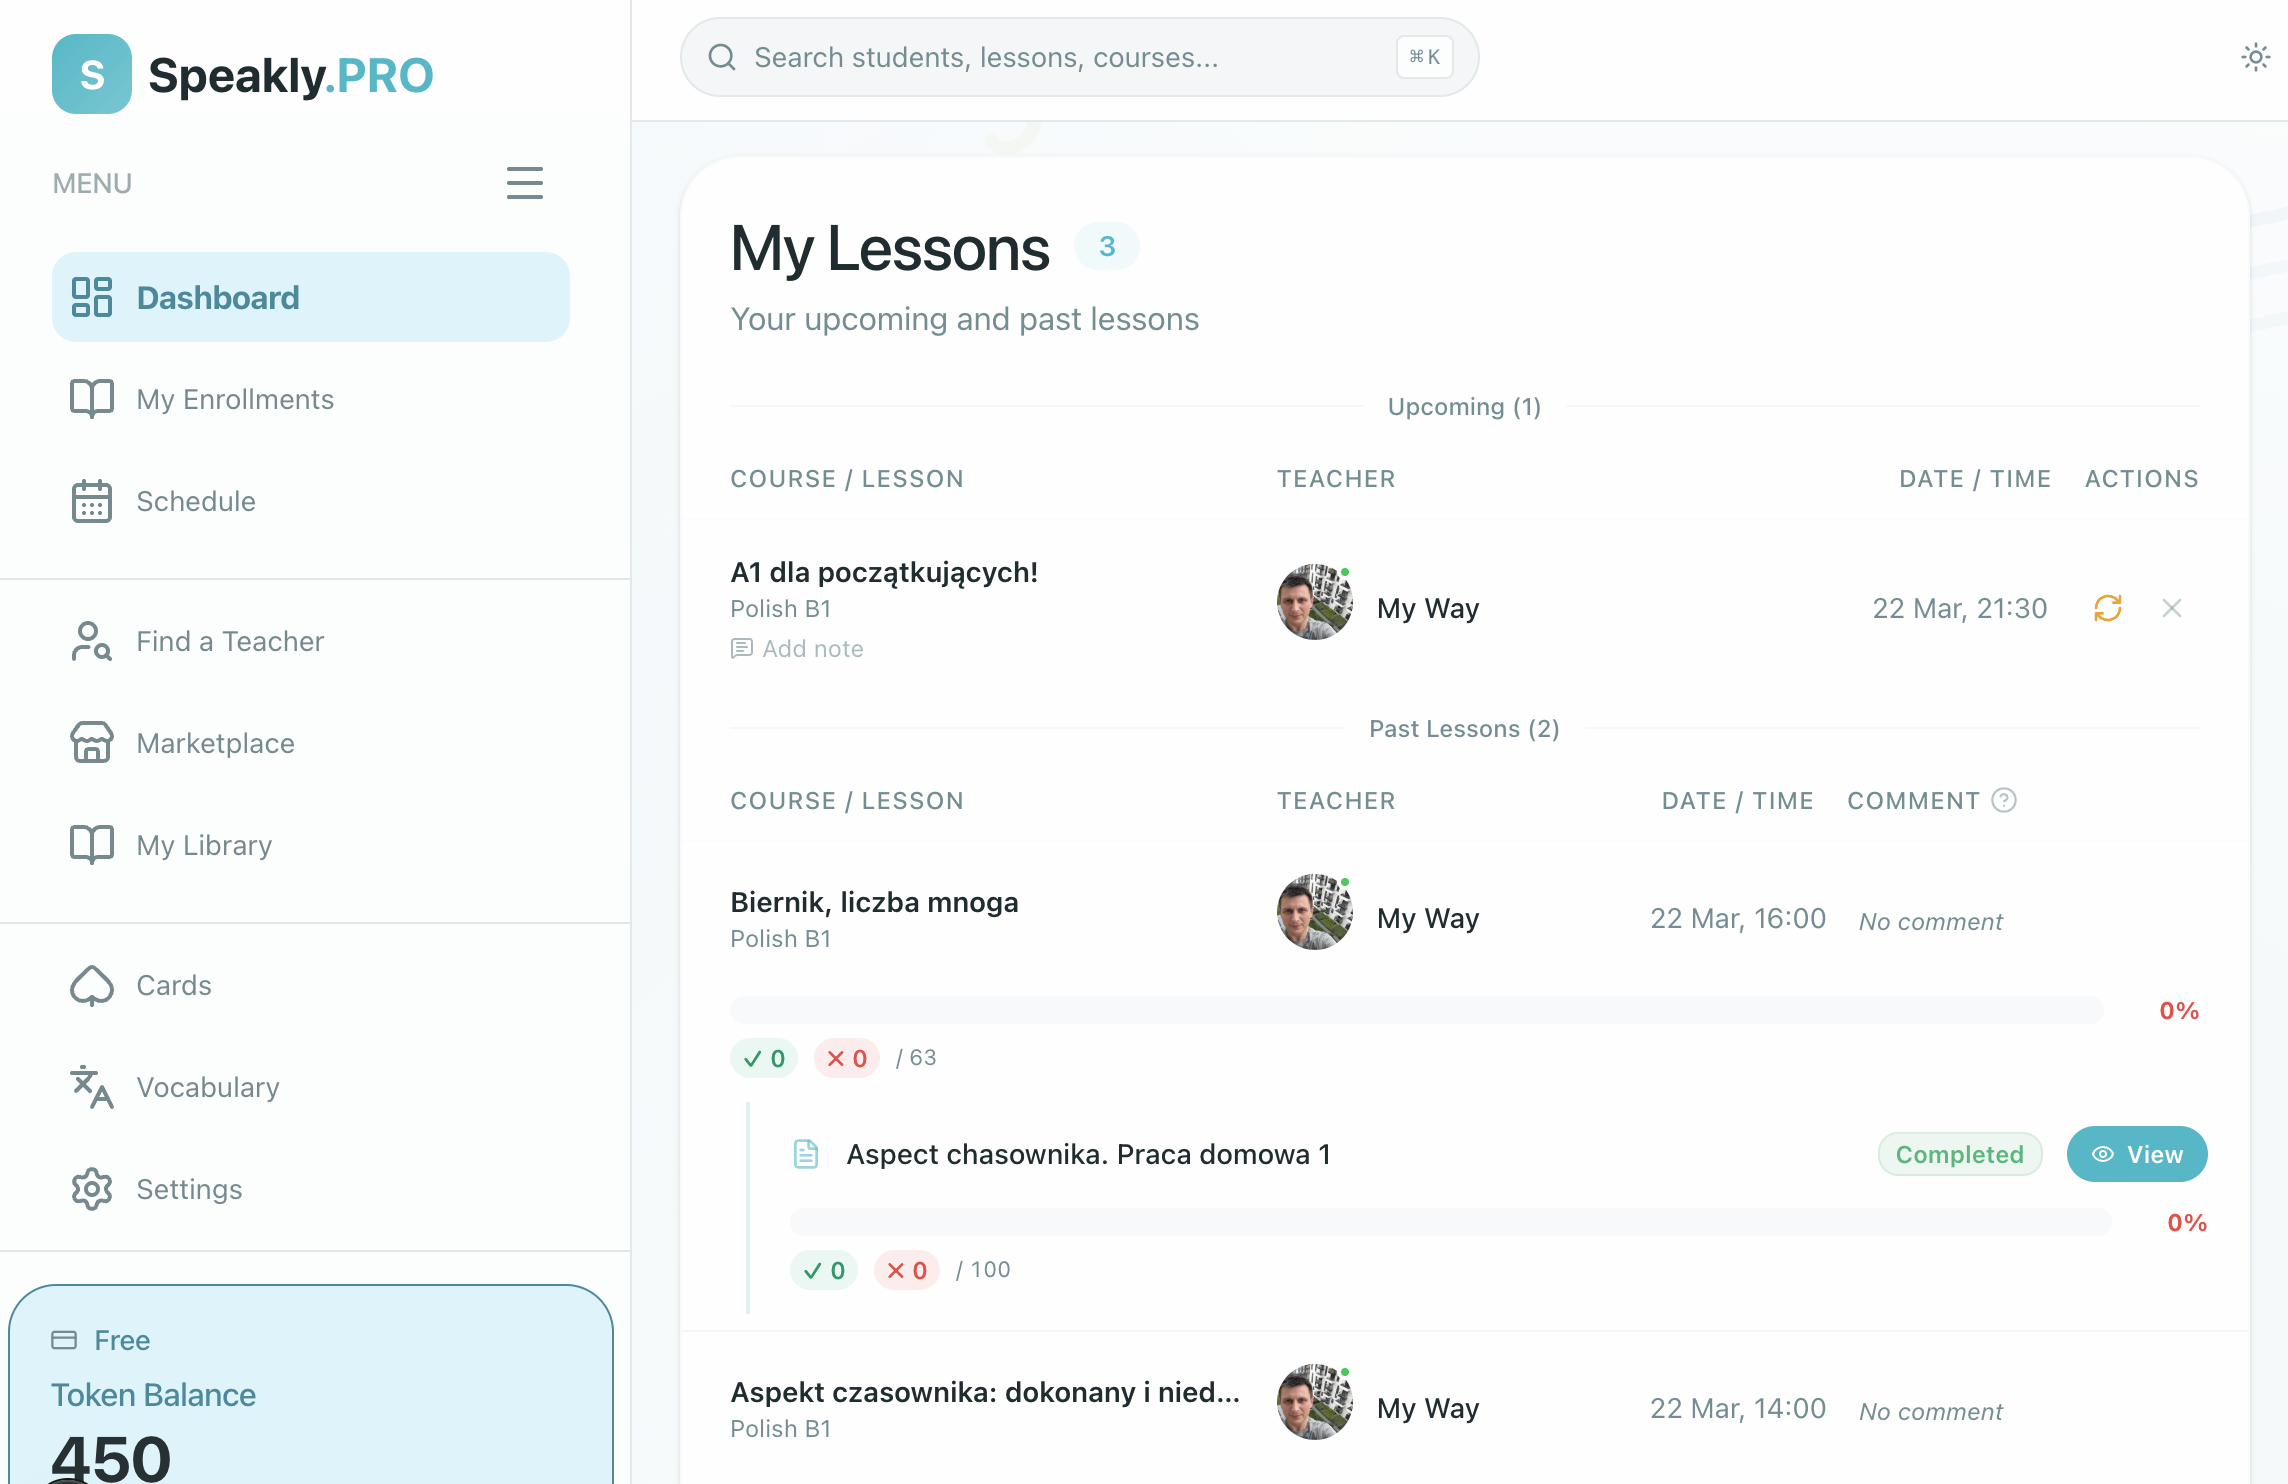
3. Learn the three student pages you will use most
| Page | What it is for |
|---|---|
| Dashboard | upcoming lessons, homework, and quick links back into your work |
| My Enrollments | the courses you belong to and the lessons inside each one |
| Schedule | live sessions, upcoming events, rescheduling, and timezone checks |

4. Open your first lesson
You can open lessons from the Dashboard or from a course inside My Enrollments.
When you are working in a lesson:
- your progress saves automatically
- exercises stay attached to your lesson copy
- homework is submitted from inside the lesson when you are ready
5. Turn notifications on or off
Open Profile → Notifications and review the four lesson-related toggles so you know when content is created, updated, canceled, or changes status.
On your school's own domain vs. speakly.pro
Some schools run Speakly.PRO on their own branded domain (for example lessons.myschool.edu or myschool.speakly.pro). The product is the same, but the scope is different:
- On your school's branded domain, you see only that school's courses, teachers, and classmates. The Speakly Marketplace and Find a Teacher pages are hidden — they belong to the public Speakly.PRO catalog.
- On
speakly.pro, you see your enrollments across every school you belong to. This is the only place that combined view exists.
You use the same Speakly account for both. For more, see White Label — for students.
Where to go next
- Lessons & Homework for day-to-day lesson work
- Schedule & Live Sessions for joining lessons and requesting reschedules
- Profile & Settings for timezone, language, and notification settings