Quick Start Guide
Choose the right role, finish setup, and jump into the correct Speakly.PRO guide.
Who this is for
New Speakly.PRO users who want the fastest path from sign-up to the right documentation.
What this page answers
- Which role should I choose?
- What should I configure first?
- Which guide should I read next?
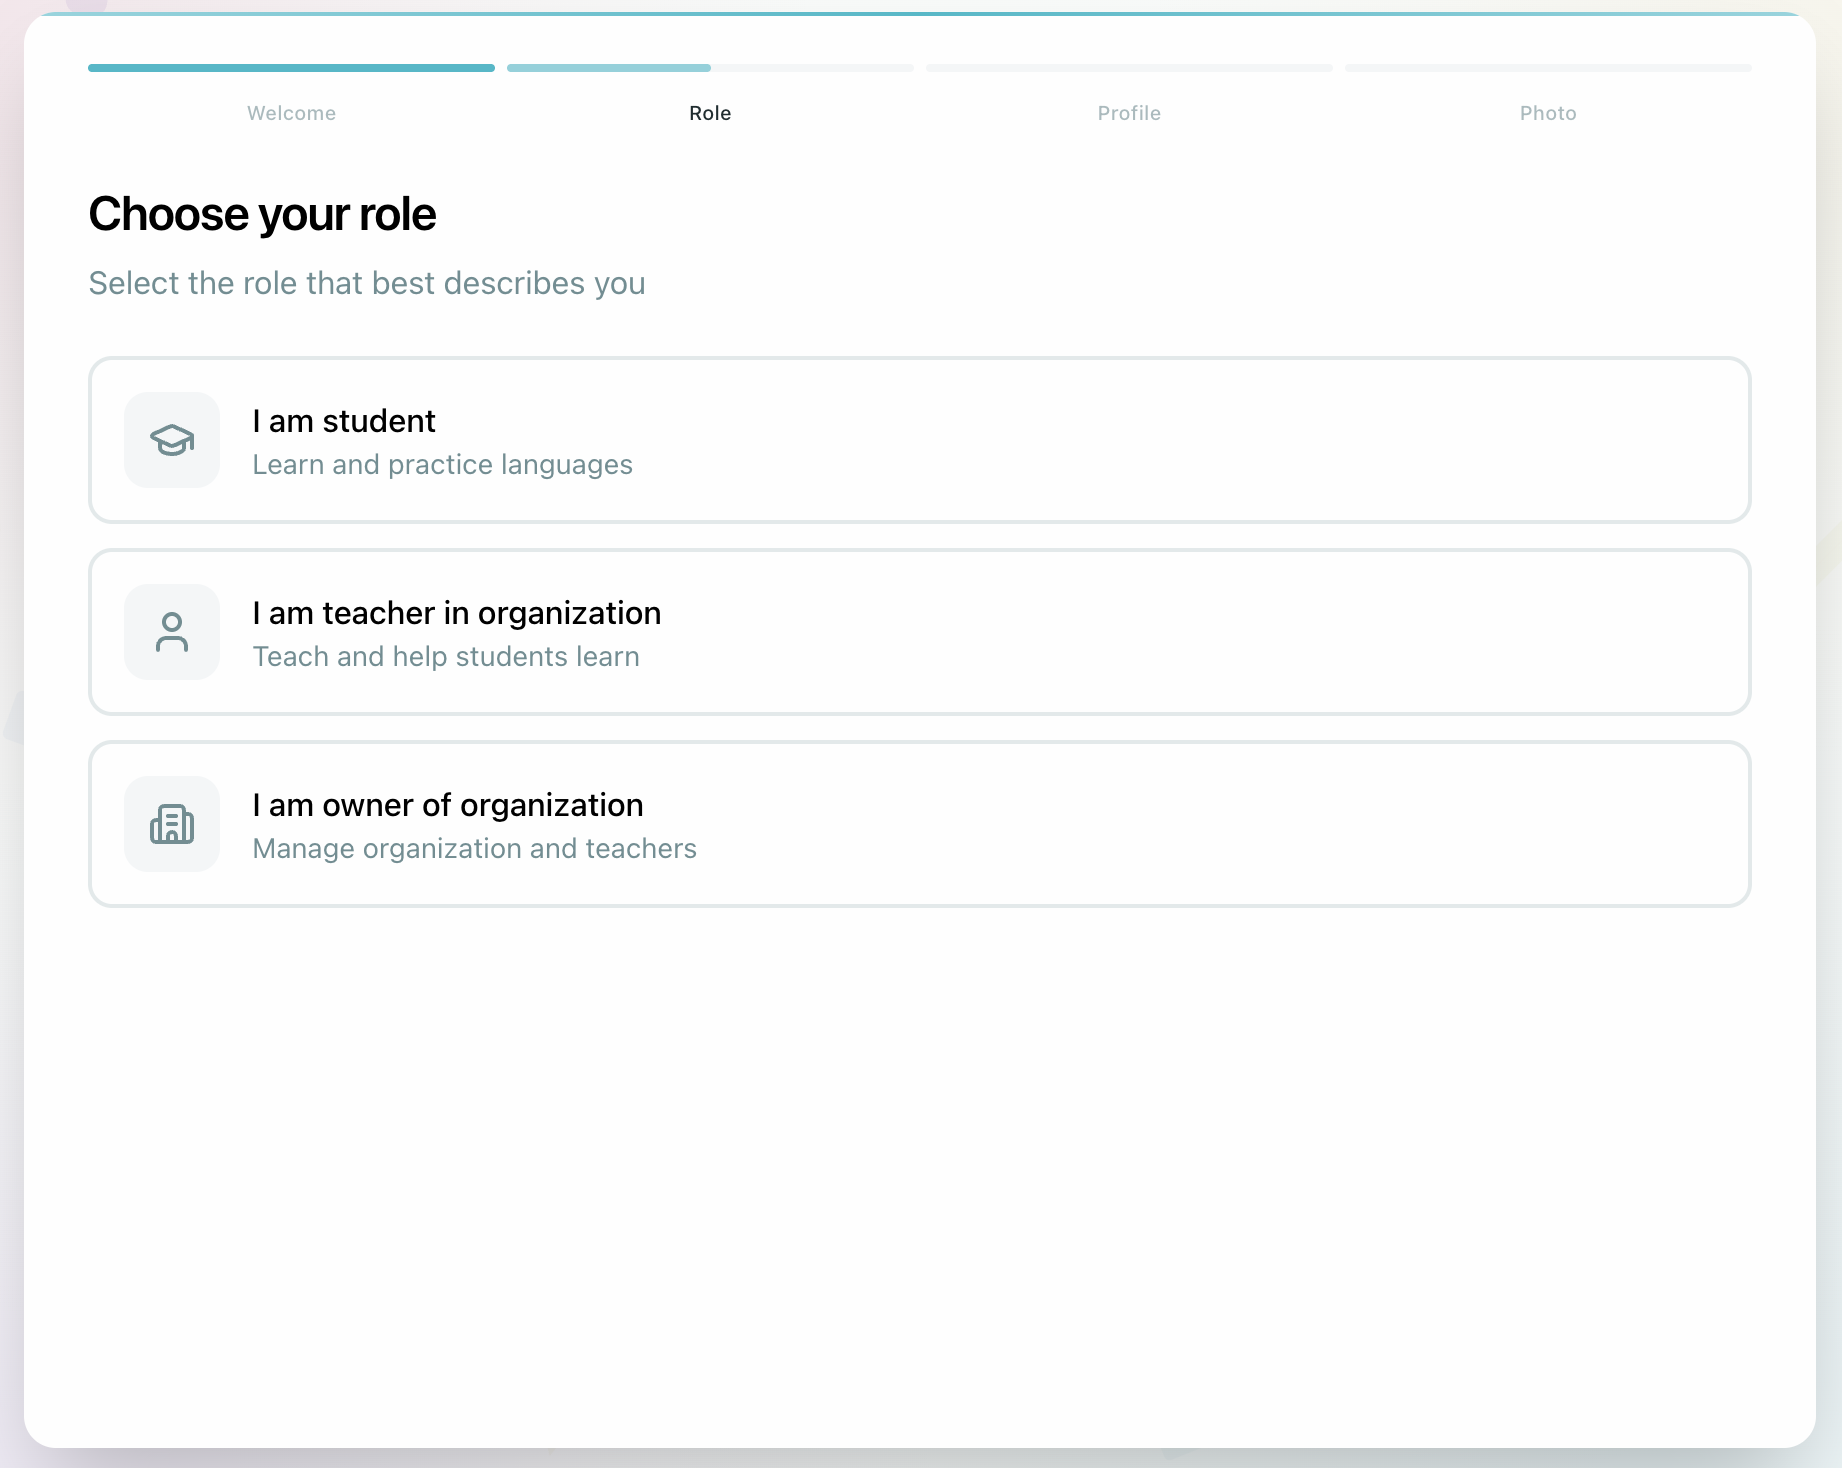
1. Choose the correct role
| Role | Choose this if you... | Go next |
|---|---|---|
| Student | are learning with a teacher or school | Student Getting Started |
| Teacher | create courses, teach lessons, and work with students | School Getting Started |
| Organization Admin | run a school, manage teachers, and control billing | Organization Setup |
Your role is permanent after registration. If you choose the wrong role, you may need a new account.
2. Finish the required profile setup
Every new account should complete registration and onboarding first. Google sign-up is the recommended path for most users; email sign-up is also available and requires email confirmation.
See Account Registration and Onboarding for the full first-time flow.
After that, complete these basics:
- set your timezone
- choose your interface language
- add your name and profile photo
Role-specific setup comes after that:
- Students join a course or request enrollment
- Teachers add teaching languages, profile details, and availability
- OrgAdmins create the organization, set default costs, and invite teachers
3. Do the first useful action for your role
| Role | First action |
|---|---|
| Student | Join your first course and open your first lesson |
| Teacher | Create a draft course and open a lesson in the Lex Editor |
| Organization Admin | Configure billing defaults and invite your first teacher |
4. Continue in the right guide
Student Guide
Join courses, complete lessons, attend live sessions, and manage your account.
School Guide
Create courses, build lessons, manage students, and run live teaching.
Organization Admin
Set up your school, onboard teachers, manage billing, and review analytics.
Lex Editor & AI
Learn the editor, interactive widgets, media tools, and AI-assisted lesson building.
5. Ask the Help Assistant when you are stuck
Open the Help Assistant from the platform when you need a quick answer without browsing every guide. It uses your question and role context to explain the next step, then links to the documentation pages it used.

Ask about the action you want to complete, for example: "I am a teacher. How do I add a pronunciation exercise to a lesson?"
Common reference pages
- Help Assistant for role-aware answers with documentation sources
- Glossary for shared product terms
- Speakly.PRO Documentation for the full documentation home